布署网站 如果你已经了解情况,那么参考下面的命令,你的问题就应该解决了:
1
git subtree push --prefix public daisilia blog
如若不然,让我们先来了解一下情况:
有一个用 hugo new site 生成的网站源码目录 blog.hugo,并在 blog.hugo 初始化了一个 GitHub 仓库;1
2
3
4
hugo new site blog.hugo && cd blog.hugo
# ... 添加内容并使用 hugo 命令生成 public/ 目录
git init .
git add . && git commit -m "Init"
添加 git@github.com:daisilia/daisilia.github.io.git 为 remote daisilia,并做一次提交:1
2
git remote add daisilia git@github.com:daisilia/daisilia.github.io.git
git push -u daisilia
最后运行一开始提到的命令,将 public 目录提交为 blog 分支:
1
git subtree push --prefix public daisilia blog
最后再到 https://github.com/daisilia/daisilia.github.io 进入 Pages 设置界面,将 blog 分支设置为要用的分支即可。Pages 设置 进入 Pages 设置界面,将 blog 分支设置为选定分支
添加文件 blog.hugo/.github/workflows/gh-pages.yml:
1
2
3
4
5
6
7
8
9
10
11
12
13
14
15
16
17
18
19
20
21
22
23
24
25
26
27
28
29
30
31
32
name : github pages
on :
push :
branches :
- main # Set a branch to deploy
pull_request :
jobs :
deploy :
runs-on : ubuntu-20.04
steps :
- uses : actions/checkout@v2
with :
submodules : true # Fetch Hugo themes (true OR recursive)
fetch-depth : 0 # Fetch all history for .GitInfo and .Lastmod
- name : Setup Hugo
uses : peaceiris/actions-hugo@v2
with :
hugo-version : 'latest'
extended : true
- name : Build
run : hugo -D --minify
- name : Deploy
uses : peaceiris/actions-gh-pages@v3
if : github.ref == 'refs/heads/main'
with :
github_token : ${{ secrets.GITHUB_TOKEN }}
publish_dir : ./public
再到 https://github.com/daisilia/daisilia.github.io 进入 Pages 设置界面,将 gh-pages 分支设置为要用的分支即可。
这里已经将远程仓库 https://github.com/alohaia/hugo-theme-daisilia 克隆到 blog.hugo/themes/daisilia,执行以下命令即可将其添加为子模块。
1
git submodule add https://github.com/alohaia/hugo-theme-daisilia.git themes/daisilia
1
remote: Permission to git denied to github-actions[bot]
Workflow permissions 在项目根目录下添加 netlify.toml 文件,内容如下:
1
2
3
4
5
6
7
8
9
10
11
12
13
14
15
16
17
18
19
20
21
22
23
24
25
26
27
28
29
30
[ build ]
publish = "public"
command = "hugo --gc --minify"
[ build . environment ]
HUGO_VERSION = "0.121.1"
[ context . production . environment ]
HUGO_ENV = "production"
HUGO_ENABLEGITINFO = "true"
[ context . split1 ]
command = "hugo --gc --minify --enableGitInfo"
[ context . split1 . environment ]
HUGO_ENV = "production"
[ context . deploy-preview ]
command = "hugo --gc --minify --buildFuture -b $DEPLOY_PRIME_URL"
[ context . branch-deploy ]
command = "hugo --gc --minify -b $DEPLOY_PRIME_URL"
[ context . next . environment ]
HUGO_ENABLEGITINFO = "true"
[[ redirects ]]
from = "/npmjs/*"
to = "/npmjs/"
status = 200
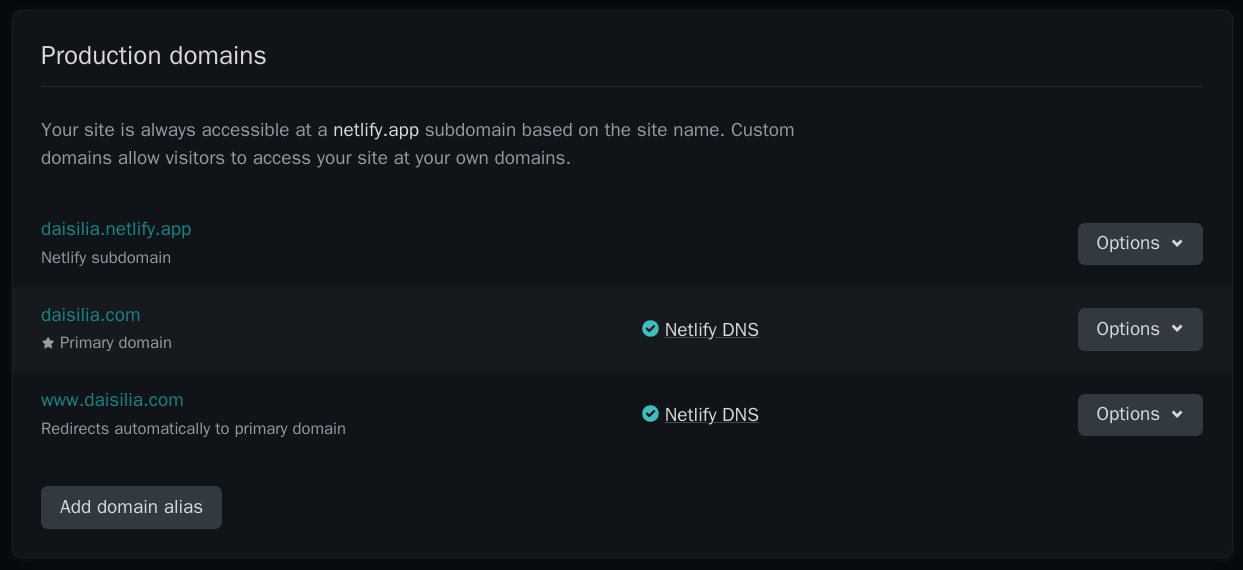
找到“Domain management”,在“Production domains”小节中,修改 Netlify 提供的域名,并添加自定义域名。
Netlify 域名 在域名提供商那里添加 CNAME 解析记录,解析到 Netlify 域名。
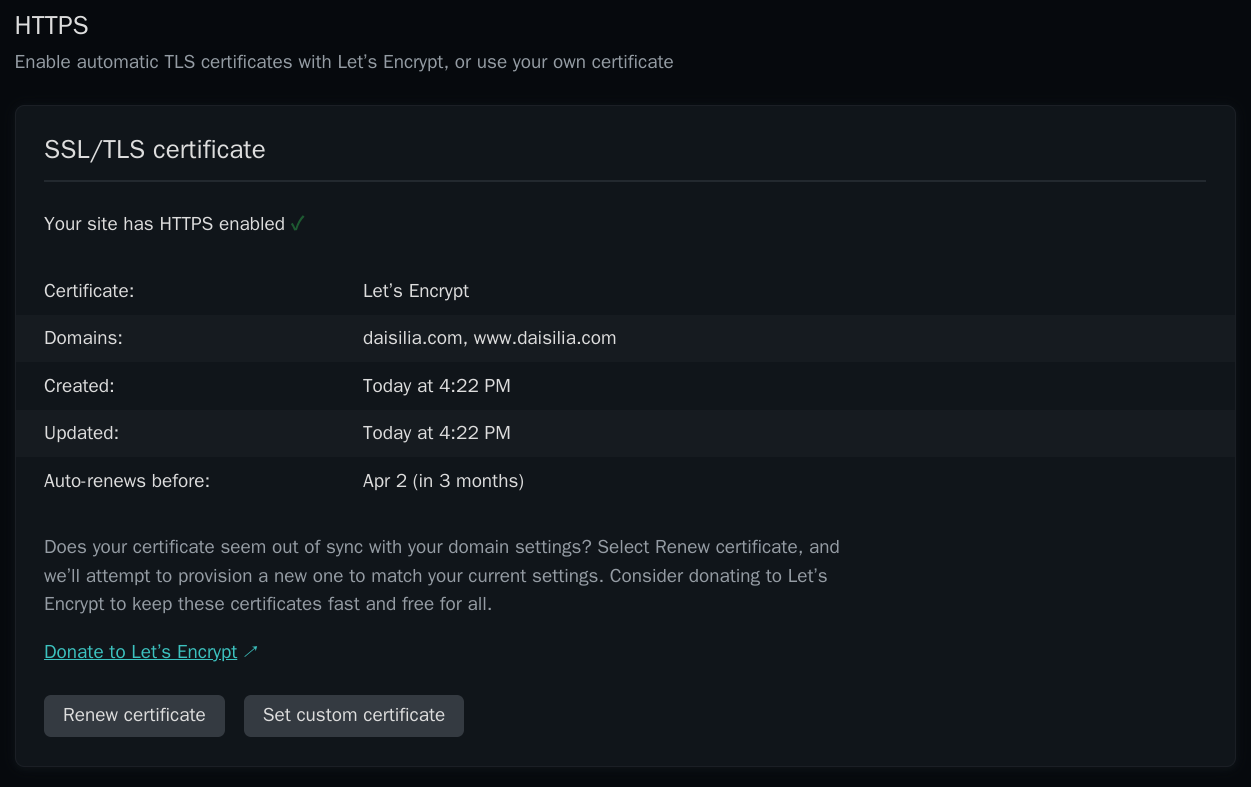
阿里云域名解析 在“Domain management”的“HTTPS”小节中,点击“Verify DNS configuration”,等待一段时间即可自动获取免费的 SSL/TLS 证书。
启用 HTTPS 


